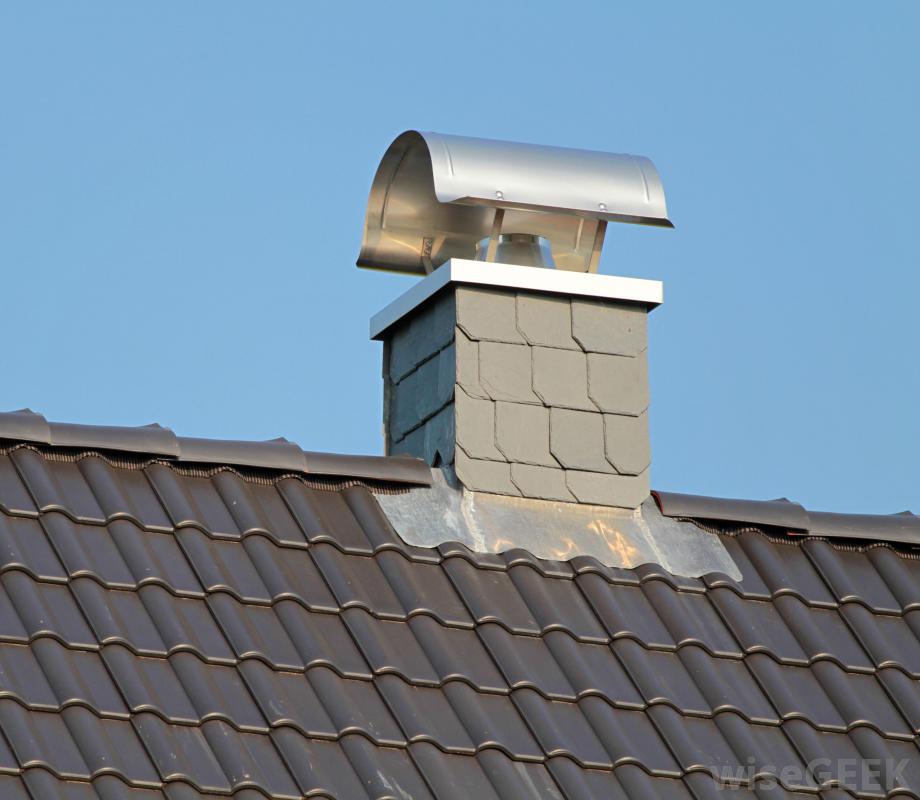
 Sealing the drafts will cut the utility bill. There are many ways to do that. Spray foam is great for sealing drafts, but that doesn’t mean it’s also suitable for sealing against the chimneyA little sheet-metal work accompanied by some heat-resistant caulk will make the house more fire-resistant.But is the question how to do that?
In most cases, it is not advisable to use standard foam insulation to seal and insulate against a sheet-metal chimney, or a masonry chimney for that matter. There are special foams for this, but this needs to be checked first whether this is permitted by the authority. If this is not the case then better off sealing the air gap between the chimney and floor joists using sheet steel or aluminum flashing. This horizontal air seal is known as fire blocking or draft stopping, and it prevents the spread of fire between floors by sealing air spaces that permit its passage. Once the metal is in place, seal the remaining gap between the metal’s edge and the chimney with a thin bead of high-temperature silicone caulk.
Finally, prepare for adding insulation (foam or additional fiberglass batts) by installing a second piece of vertical sheet metal that provides a 2-inch airspace around and parallel to the chimney. This barrier must be taller than any insulation is deep to prevent insulation from touching the chimney.
There are exceptions to this procedure. In some cases, a sheet-metal chimney that passes through an attic is already surrounded by a protective sleeve that provides the needed airspace. Also, the 2-inch air gap is generous for some forms of the insulated metal chimney, which only require a 1-inch airspace. This is an exception unless the type of chimney using a 2-inch airspace.
Seal Drafts Around A Metal Chimney
In more detail how to do a DIY project for sealing draft around metal chimney are as follow. Firstly, look up into the fireplace opening and note the shape of the opening just below the damper. That is where the damper seal will be installed. Measure each side of the opening just below the damper seal and transfer the measurements to a pattern drawn on cardboard. Cut out the pattern and put it in place to see if it fits. Make any adjustments to the measurements so that it fits tightly in place. This can be done through insulating foam board seal. For this,transfer the final pattern to a piece of insulating foam board and cut out. Then, Press the foam board seal firmly in place just under the damper. For this purpose, steel insulation springs can be used to help hold it in place.
Another is plywood and insulating foam board seal.To do this is transfer the pattern onto a piece of plywood and cut out. Insert foam pipe insulation over the edges of the plywood. The pipe insulation will press against the bricks and provide a good seal. In this case, glue rigid foam insulation on the plywood can also be done for providing even more insulation.
It is important to be careful not to inadvertently light a fire in the sealed fireplace. It is a good idea to place a small label on the fireplace noting that it is sealed. For more safety, have a metal fireplace screen, a cover fitted with magnets that attach the cover to the metal screen.
